

3 Great DIY Jewelry Pieces That You'll Love Wearing!
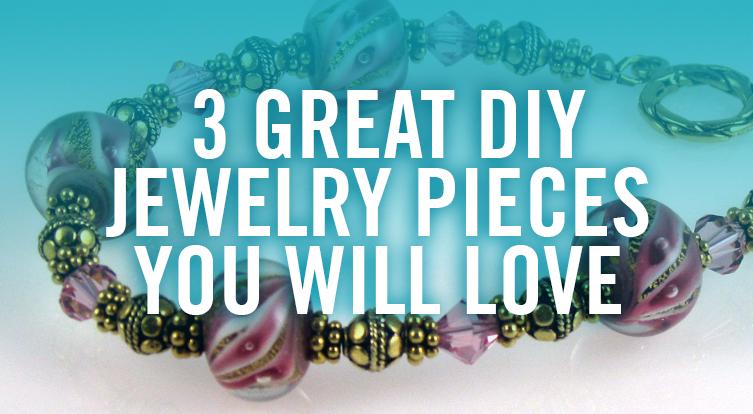
Buying a pricey piece of fantastic jewelry is a great feeling but there is a lot to be said for making your own DIY necklace or bracelet. I promise that you can create beautiful DIY jewelry which you will actually enjoy wearing! You can look elegant, customize your look, and do it all without needing to overpay.
If you're having trouble determining which piece of jewelry should go with which outfit, we're got 10 tips to make sure your jewelry compliments your outfit! Creating stunning outfits has never been easier, especially when you can create exactly the piece that you need with just a little good old DIY elbow-grease!
My favorite part about these great DIY jewelry pieces is just how customizable they are. You can tweak them in any way imaginable so that they will display your personal taste and look exactly how you want! I've even sold a few pieces to friends (at cost, of course) so I know that other people like the look. You might even be able to turn these DIY jewelry pieces into a little business.
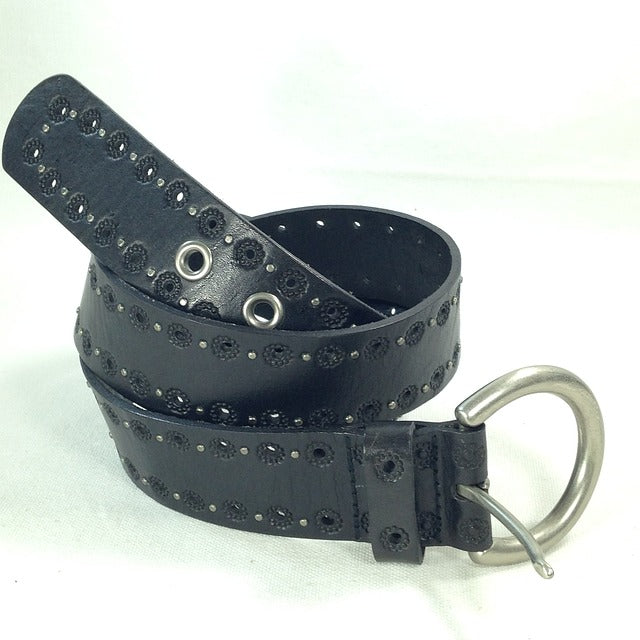
Studded Leather Bracelet
Calling on my high-school experiences of studding every piece of clothing that I owned in order to look as punk rock as possible, we have the classic studded leather bracelet. It's exceedingly easy to do!
Items needed: Pair of pliers, leather strips in your favorite color, studs in your preferred color/size/shape, and finally a button-snap set to affix on the ends.
The process is fairly simple. Push the studs through the leather and clamp the teeth of the studs closed. Leave room for the button snap on the ends so you can actually wear it as a bracelet. The simplicity of this bracelet means that it will never go out of style!
Finding leather strips can be difficult as most people will want to sell in bulk, but keep in mind that there are plenty of leather alternatives. Vegan plant-based leather is an eco-friendly alternative that you can almost certainly use as a conversation starter!

Marbled Jade Earrings
The wording here is pretty tricky, but you can use it to impress. They aren't marble jade, they are marbled jade. Jade referring to the color instead of the actual gemstone. You can also say you made them out of clay, but I wouldn't.
Items needed: Two earring posts, polymer clay in your two chosen colors, jewelry glue, polymer finishing gloss. An Xacto knife is quite helpful. You'll also need an oven and a baking sheet.
Warm the clay up in your hands until it becomes pliable and easier to work with and roll a small amount of your accent color into the main color. Stretch, roll, repeat until you're seeing those gorgeous striations that make marble so popular.
Separate the clay into two balls of equal earring-size and slice a portion of the sphere off so that the earring posts can fit snugly against your new earrings. Preheat the oven to 270 degrees Fahrenheit. Place the clay on the baking sheet and into the oven it goes!
You can estimate an hour for every half-inch of clay, but it is a really good idea to keep an eye on it if you can. Burnt earrings aren't a good look. Once they're out of the oven apply a coat of that glossy finish and allow it to dry before gluing your marbled jade to the earring posts. Congratulations! You are the proud owner of some new jade earrings!
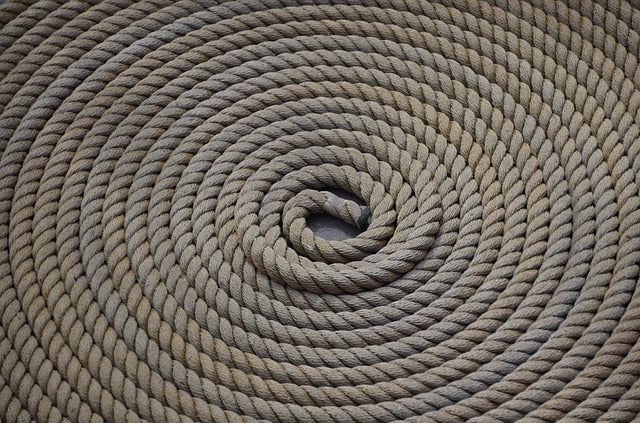
Braided Rope Necklace
Simple and elegant. Statement necklaces are great, but they don't need to be overly flashy (or inordinately expensive). A braided rope necklace can turn heads and keep your budget well under $10. If you know how to braid then you can create one of DIY necklace in no time flat!
Items needed: How big of a necklace would you like? I'd suggest around 9 strands of rope, but you can add more. Fabric tape. Gold leaf to cover the fabric tape. Lastly, a chain with a clasp in the middle to take a group of braided ropes into a gorgeous DIY necklace.
You can use any rope for this project so get creative! Parachute cord is a bit more expensive but it's extremely sturdy and comes in every color you can imagine. I'd say it's probably worth the price. Anyways, once you've chosen your color and rope, cut them to the desired length. Hold the ropes in place with the fabric tape or even just a heavy book and get to braiding!
The braiding should go relatively quick. If you want to make things difficult or simply want to snag a little extra 'wow' factor you might go for a more in-depth knot, but in my experience it isn't worth the extra effort. Simplicity isn't a bad thing! Just a simple braid is serviceable and elegant.
Once you're finished with that step, wrap the ends with fabric tape. Attach the chain and you're almost ready to go! The final step is adding the gold leaf to cover up the fabric tape. We're making inexpensive DIY jewelry, but that doesn't mean we want it to look like cheap DIY jewelry.
Final Thoughts
Whether you're spending a bundle on jewelry or creating it yourself, you'll want to ensure that it looks amazing each and every time that you put it on. Simple Shine has a wide range of products that can make cleaning a breeze! Check out our gentle complete jewelry cleaning kit and tough jewelry cleaning cloths for a combo that can't be beat!
Sample Block Quote
Praesent vestibulum congue tellus at fringilla. Curabitur vitae semper sem, eu convallis est. Cras felis nunc commodo loremous convallis vitae interdum non nisl. Maecenas ac est sit amet augue pharetra convallis nec danos.
Sample Paragraph Text
Praesent vestibulum congue tellus at fringilla. Curabitur vitae semper sem, eu convallis est. Cras felis nunc commodo eu convallis vitae interdum non nisl. Maecenas ac est sit amet augue pharetra convallis nec danos dui.
Cras suscipit quam et turpis eleifend vitae malesuada magna congue. Damus id ullamcorper neque. Sed vitae mi a mi pretium aliquet ac sed elitos. Pellentesque nulla eros accumsan quis justo at tincidunt lobortis denimes loremous. Suspendisse vestibulum lectus in lectus volutpat, ut dapibus purus pulvinar. Vestibulum sit amet auctor ipsum.